After researching Adam Burton and Ollie Taylor; who are both Landscape photographers, and Howard Bjornson who is a still life photographer, I want to produce a series of six images that follows these genres of photography; landscape and still life. As I do not feel fully at home where I live, but I feel more at home with nature and exploring, I believe that these genres will be suited to what subjects I want to photograph.
I would like to link all six photographs together in a way that shows my passion for exploring nature and where I feel most at home. When I go on hiking trips, I will always take and use the same equipment, which I have used for a very long time because of their durability, stability and strength; all of which I know that I can rely on. These specific object are: my sleeping bag, tent, bivybag, compass, hat and gloves, map, leather walking boots and camping stove.
How I would like to link all of the photographs together, is by photographing six of the ten objects that I carry round when I go hiking. The objects that I would like to photograph are: my compass, map, leather boots, gloves, cooking stove and tent. For all of the objects apart from the tent, I would photograph in a studio setup environment, where I can control all aspects of the photograph including lighting, composition and background.
As I need to produce six images for my final submission, I would like to photograph one object in the first photograph, the first object and another object in the next photograph and so on, until the final photograph; which would be of the tent on its own. Regarding the tent photograph, I would like to take it using landscape photography techniques. This could involve long shutter speeds, wide apertures and low ISO.
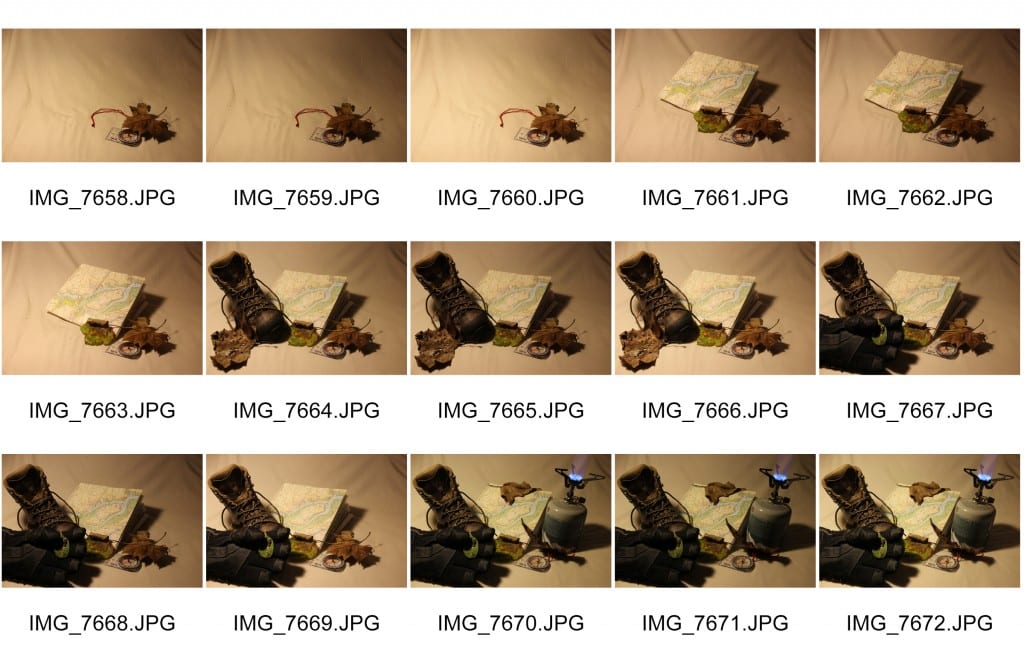
Below is a contact sheet of my first inside photo shoot that I conducted photographing my compass, map, leather walking boots, a glove and camping stove.
In the contact sheet, you can see that there are a total of fifteen images; three of each differently composed scenes. This was done as I wanted to combine all three photographs of the same scene together to create a HDR image which would bring out more of the vibrancy in the colours and the textures in the photograph.
To create a HDR image, you must take one correctly exposed photograph, one underexposed and one overexposed. In Adobe Photoshop, you go to File > Automate > Merge to HDR, or in Adobe Lightroom, select the three images that you want to combine, right click and go to Photomerge > HDR. Either way works effectively and efficiently. I will be using Adobe Lightroom for this process, so I can later sync all of my images together when fine tuning the exposure values.
I first imported the images into Adobe Lightroom, selected the images that I wanted to combine, right clicked them on the image strip and went to Photomerge > HDR. This combined all three images into one single HDR image. I did this to each different scene that I photographed.
Once I had all five final HDR combined images, it was time to fine tune each image to give it the seamless and professional look that I wanted to achieve. In Adobe Lightroom, I selected the final HDR images and went across to the Develop tab at the top right hand corner of the window. Here I was able to alter the exposure, shadows and highlights, image temperature, clarity, details and noise reduction values throughout the photograph. Before I changed any settings on the right hand panel, I made sure that the images that I wanted to edit were selected, and that the images were synced together by clicking the sync tab (bottom right of the window under the develop tab). This synced all of the images together so I did not have to edit them one by one, which would be an inefficient use of time, and would not be done at the same professional consistency. Finally, I changed the majority of the values available to me in the develop tab, including the colour temperature to make the background less orange, and the objects more of their natural colour. I then exported the images as JPEG’s but also keeping their RAW format.
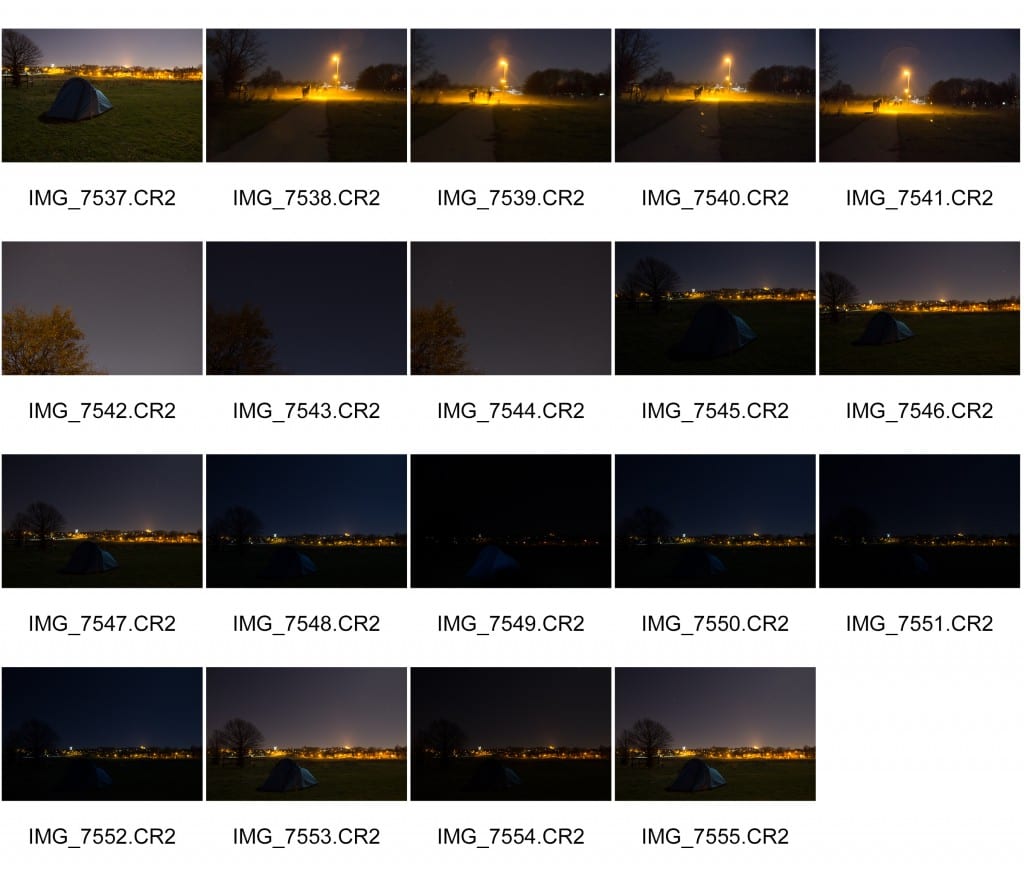
Below is the contact sheet from the tent photo shoot that I conducted.
You can see, that I again took several different exposures of the same scene with the tent to later develop into a single HDR image. I used the same HDR process as I did for my still life shoot, only this time, I used two of the three images to combine. I used the correctly exposed image and the underexposed image. This was because when I used the overexposed image as well, the photograph became too overexposed which was hard to rectify in the edit.
Below are the final six images for my Home project.
You can clearly see a build-up with one object in the first photograph and five in the fifth. The final photograph; being of the tent with the city of Lincoln skyscape in the background, also clearly shows the build-up. I wanted to include the Lincoln skyscape because it is where I am currently living. However, it also allows me to express my escape through camping and hiking in the outdoors, with all of my equipment that is personal to me.
I believe that this particular project has gone well technically and conceptually, as I think I have managed to express what I have wanted through a series of six photographs. The HDR photography technique has worked in my favour to improve on each photograph but not in a way that it becomes over powering or conspicuous. This has therefore had a positive effect on each of my photographs adding to their seamless qualities and professional outlook. Moreover, I feel that this project has been successful as I have used objects that have a significant importance to me and thus has led me to be able to fulfil exactly what I had in mind due to the personal aspect of this project.


